Quantcast
Channel: yanfly.moe
Viewing all 184 articles
Browse latest View live

Fallen Angel Olivia’s Holiday Plugin Sale

$
0
0

OliviaBundle

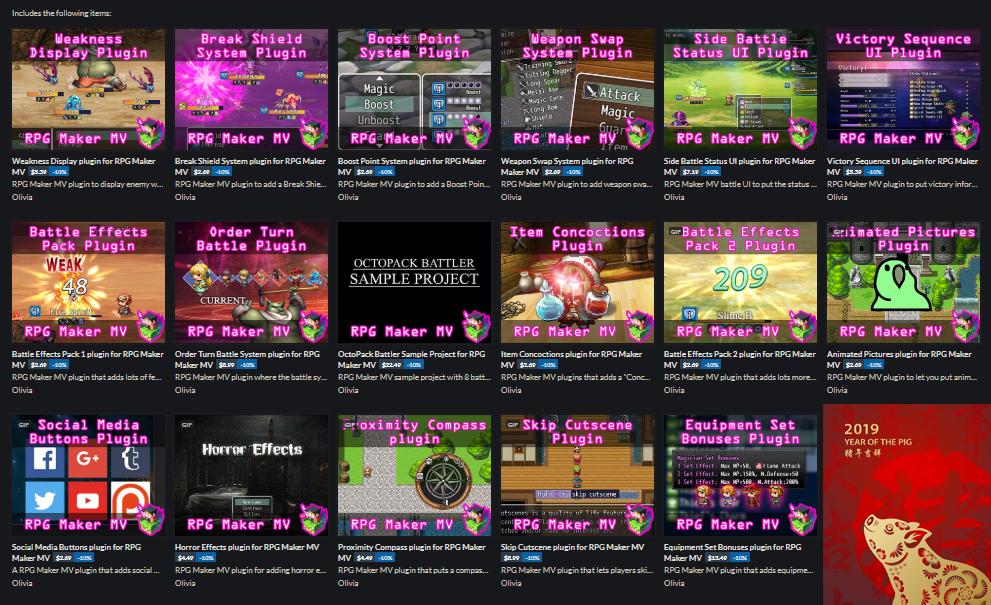
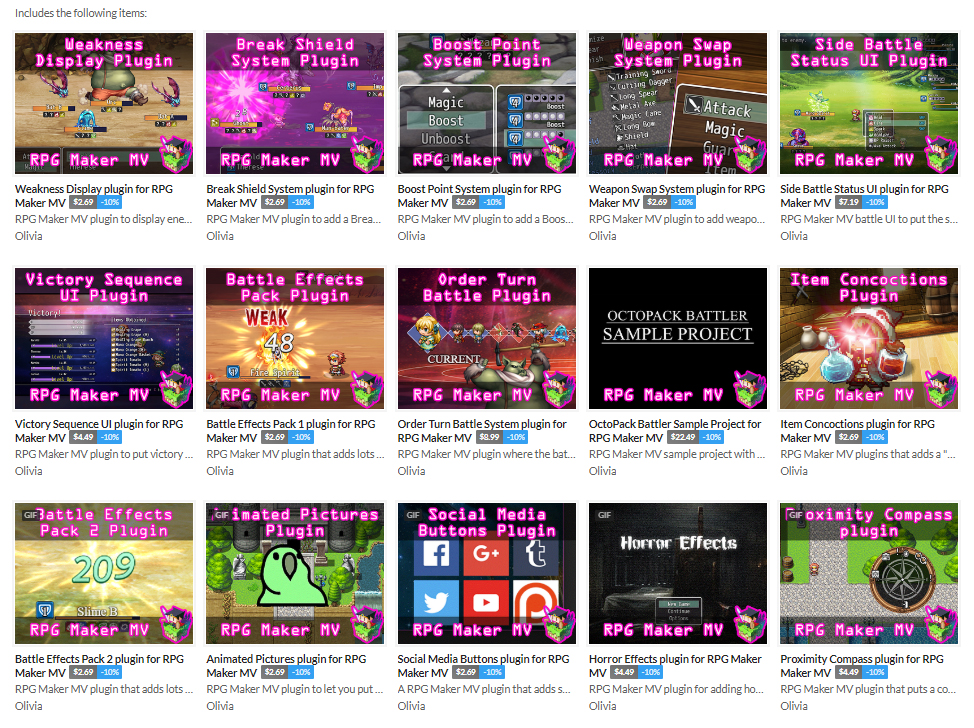
Our Octopath-loving friend, Fallen Angel Olivia, is hosting a holiday plugin sale! Everything is 10% off, or you can buy everything she’s made in a bundle for $34.99, regularly a $84.85 value (thus, saving 58%!). Be sure to check out her amazing plugins many of which are compatible with the Yanfly Engine Plugins library! This sale will be available throughout December!

Individually

Animated Pictures plugin for RPG Maker MV $2.99 → $2.69
Battle Effects Pack 1 plugin for RPG Maker MV $2.99 → $2.69
Battle Effects Pack 2 plugin for RPG Maker MV $2.99 → $2.69
Boost Point System plugin for RPG Maker MV $2.99 → $2.69
Break Shield System plugin for RPG Maker MV $2.99 → $2.69
Horror Effects plugin for RPG Maker MV $4.99 → $4.49
Item Concoctions plugin for RPG Maker MV $2.99 → $2.69
OctoPack Battler Sample Project for RPG Maker MV $24.99 → $22.49
Order Turn Battle System plugin for RPG Maker MV $9.99 → $8.99
Proximity Compass plugin for RPG Maker MV $4.99 → $4.49
Side Battle Status UI plugin for RPG Maker MV $7.99 → $7.19
Social Media Buttons plugin for RPG Maker MV $2.99 → $2.69
Victory Sequence UI plugin for RPG Maker MV $4.99 → $4.49
Weakness Display plugin for RPG Maker MV $2.99 → $2.69
Weapon Swap System plugin for RPG Maker MV $2.99 → $2.69

Bundled

Animated Pictures plugin for RPG Maker MV $2.99 → $2.50
Battle Effects Pack 1 plugin for RPG Maker MV $2.99 → FREE
Battle Effects Pack 2 plugin for RPG Maker MV $2.99 → FREE
Boost Point System plugin for RPG Maker MV $2.99 → FREE
Break Shield System plugin for RPG Maker MV $2.99 → FREE
Horror Effects plugin for RPG Maker MV $4.99 → $4.50
Item Concoctions plugin for RPG Maker MV $2.99 → FREE
OctoPack Battler Sample Project for RPG Maker MV $24.99 → $21.00
Order Turn Battle System plugin for RPG Maker MV $9.99 → FREE
Proximity Compass plugin for RPG Maker MV $4.99 → $4.50
Side Battle Status UI plugin for RPG Maker MV $7.99 → FREE
Social Media Buttons plugin for RPG Maker MV $2.99 → $2.50
Victory Sequence UI plugin for RPG Maker MV $4.99 → FREE
Weakness Display plugin for RPG Maker MV $2.99 → FREE
Weapon Swap System plugin for RPG Maker MV $2.99 → FREE

Total: $34.99


YEP.175 – Actor Auto Battle AI – RPG Maker MV

$
0
0

Yanfly Engine Plugins is a plugin library made for RPG Maker MV, a wonderful piece of software to help you make that role playing game of your dreams. You can find out more about RPG Maker MV here.

You can grab the plugin here:
English Dropbox
English Mirror

Support Team Yanfly on Patreon

This plugin requires YEP_BattleAICore. Make sure this plugin is located under YEP_BattleAICore in the plugin list.

By default, if an actor has the auto battle trait, it will cycle through each one of its learned skills (whether or not it has access to the skill type doesn’t matter) and selects the hardest hitting skill of them all. This setup may work for some auto-battlers but not all of them. What this plugin does is it incorporates the A.I. Priority system from the YEP Library’s Battle A.I. Core for actor auto-battlers.

If you don’t have YEP_BattleAICore yet, please download it from here.


Introduction


This plugin requires YEP_BattleAICore. Make sure this plugin is located under YEP_BattleAICore in the plugin list.

By default, if an actor has the auto battle trait, it will cycle through each one of its learned skills (whether or not it has access to the skill type doesn’t matter) and selects the hardest hitting skill of them all. This setup may work for some auto-battlers but not all of them. What this plugin does is it incorporates the A.I. Priority system from the YEP Library’s Battle A.I. Core for actor auto-battlers.

If you don’t have YEP_BattleAICore yet, please download it from here.


Plugin Parameters


Default AI Level:
– See ‘Actor AI Level’ in the Notetags section below.

Bypass Requirement:
– This is a list of the skills that bypass that requirement to have learned the skill in order to use it. This is namely for skills like ‘Attack’ and/or ‘Guard’ that aren’t normally learned by actors, but are available to them through the command window.

Curate Skill List:
– Skills used for Auto Battle can only be skills accessible through available skill types. This is a selectable option because sometimes, skills that are learned by actors can be used through auto battle despite not having access to that skill type. An example of this would be an actor that has learned skills in the Knight class, but upon switching to the Mage class the actor loses the Knight skill type. Yet, despite that, auto battle would let the Mage class use skills from the Knight skill type if it’s a part of the setup. Turning this on to curate the skill list will remove the ability use skills outside of available skill types.

Undecided AI:
– If no skill is determined through the A.I. Priority list, the actor will use the default Auto Battle AI to determine which skill to use. Otherwise, the actor perform only a basic attack if the setting is false.


Notetags


The notetags to setup the auto battle A.I. will go into the class noteboxes.

– – – – – – – – – – – – – – – – – – – – – – – – – – – – – – – – – – – – – –
Actor AI Level
– – – – – – – – – – – – – – – – – – – – – – – – – – – – – – – – – – – – – –

Actor AI levels do not determine how smart they are. Instead, they determine how strictly they will follow the <AI Priority> lists. An AI Level of 80 means it has an 80% chance of following the prioritized action on the AI Priority list before moving onto the next one where there will be another 80% chance and so on. If the AI level is lower, the chance is lower, making the AI to be more random.

Class Notetag:

<AI Level: x>
Sets the actor’s AI level to x. The lower x, the more random the actor. The higher for x, the more strict the actor is about following the AI Priority list found in its notebox, too.

– – – – – – – – – – – – – – – – – – – – – – – – – – – – – – – – – – – – – –
Actor AI Priority
– – – – – – – – – – – – – – – – – – – – – – – – – – – – – – – – – – – – – –

If a class has an AI Priority list, the actor will go down that list from top to bottom (giving the actions at the top more priority than the ones at the bottom) looking for any actions whose conditions are fulfilled. If that condition is fulfilled, then that action will be the action the actor will partake in.

To set up a Priority List for the actor, you must place inside the class’s notebox notetags that match the following format:

<AI Priority>
condition: SKILL x, target
</AI Priority>

or

<AI Priority>
condition: skill name, target
</AI Priority>

Any number of conditions and skills can be placed in between the two <AI Priority> tags. You can choose to use skill ID’s or the skill names. However, if you use the skill names, keep in mind that it is not case sensitive and if any skills in your database have matching names, the skill with the larger skill ID will be the action used.


Conditions


The conditions to be used for the <AI Priority> notetag are the same as the ones from the YEP_BattleAICore plugin. Please refer to the YEP_BattleAICore help file for which conditions can be used with the A.I. setups.


Happy RPG Making!


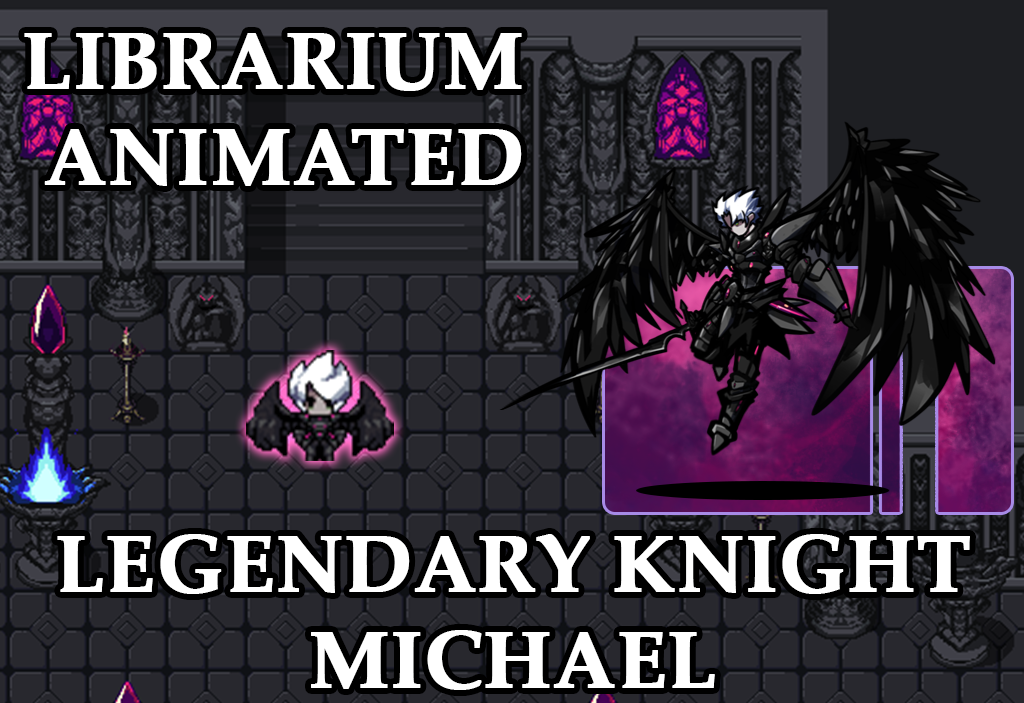
Librarium Animated – Legedary Knight Michael

Librarium Extra – Zodiac Creatures IV

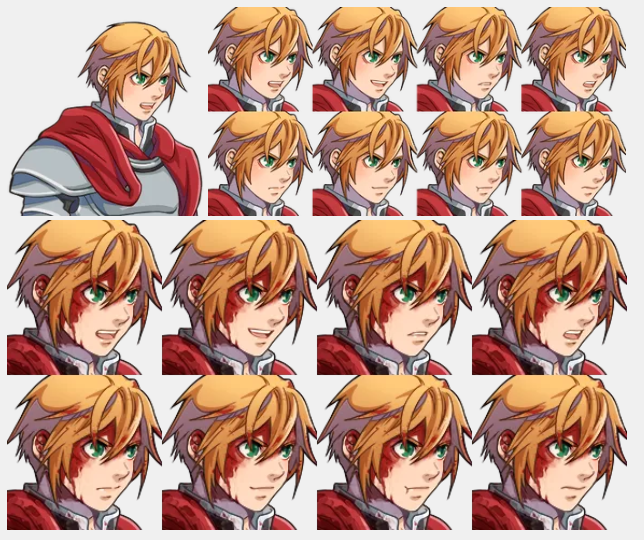
Actor 1-1: Ralph Released by Archeia

YEP.176 – Event Proximity Activate – RPG Maker MV

$
0
0

Yanfly Engine Plugins is a plugin library made for RPG Maker MV, a wonderful piece of software to help you make that role playing game of your dreams. You can find out more about RPG Maker MV here.

You can grab the plugin here:
English Dropbox
English Mirror

Support Team Yanfly on Patreon

Today, we have a bonus plugin! 😀 The bonus plugin isn’t a part of the main line that Team Yanfly releases, but it’s certainly something to give to the community! We make bonus plugins as extra tools to help specific game types. And today, we have

Event Proximity Activate!!!

In RPG Maker MV, events can only activate when you are either standing next to them or on top of them. There is no activation proximity range that can be used to activate some events from afar. This plugin gives you multiple ways to activate certain events from a distance, through means of a square area around an event, a radius, row-centric, or column-centric. These new activation proximity ranges can be coupled with an event’s triggers: through the Action Button, Player Touch, Event Touch, Autorun, and Parallels giving multitudes of ways to activate events. And these can all be done by simply adding Comment Tags into an event page.


Introduction


In RPG Maker MV, events can only activate when you are either standing next to them or on top of them. There is no activation proximity range that can be used to activate some events from afar. This plugin gives you multiple ways to activate certain events from a distance, through means of a square area around an event, a radius, row-centric, or column-centric. These new activation proximity ranges can be coupled with an event’s triggers: through the Action Button, Player Touch, Event Touch, Autorun, and Parallels giving multitudes of ways to activate events. And these can all be done by simply adding Comment Tags into an event page.


Comment Tags


By default, each event page has zero proximity features. They have to be added manually per event page using comment tags. You can use the following comment tags to give each event page a proximity activation range.

Comment Tags:

<Activation Square: x>
– Creates an activation range around the event in the form of a square, x tiles to the left, right, above, and below the event. This makes the activation range look like a square.

<Activation Radius: x>
– Creates an activation range around the event requiring the player to be within x tiles of the event (difference of x and y positions). Think of this more like a diamond.

<Activation Row: x>
– Creates an activation range spanning horizontally from the event. The row’s horizontal range is the whole map, but the vertical range is x tiles above and below the event. If x is 0, then the player must be exactly on the same vertical tile as the event.

<Activation Column: x>
– Creates an activation range spanning vertically from the event. The row’s vertical range is the whole map, but the horizontal range is x tiles left and right of the event. If x is 0, then the player must be exactly on the same horizontal tile as the event.

Event proximity activations behave differently depending on the event page’s trigger type. Here is how the event page will activate based on the trigger:

Action Button
– As long as the player is within the event’s proximity range, pressing the OK button will activate the event.

Player Touch
– If the player moves within the event’s proximity range, the event will automatically activate. This will not occur if the event moves into range of the player, however. The player can also press the OK button to trigger the event.

Event Touch
– If the player moves within the event’s proximity range or vice versa, the event will automatically activate. The player can also press the OK button to trigger the event.

Autorun
– If the player moves within the event’s proximity range or vice versa, the event will automatically activate. There is no escaping this autorun unless you have a way of turning it off.

Parallel
– If the player moves within the event’s proximity range or vice versa, the event will automatically activate. The player is granted a few frames of movement each time the parallel process loops.


Happy RPG Making!


Reminder: Fallen Angel Olivia’s Holiday Plugin Sale ends in a Week

$
0
0

OliviaBundle

This post is a reminder that Fallen Angel Olivia‘s plugin bundle sale ends in a week from today! Individually, everything is 10% off or you can purchase the whole set for $34.99, regularly a $84.85 value (thus, saving 58%!). Be sure to check out her amazing plugins many of which are compatible with the Yanfly Engine Plugins library! This sale ends once December’s over!

Individually

Animated Pictures plugin for RPG Maker MV $2.99 → $2.69
Battle Effects Pack 1 plugin for RPG Maker MV $2.99 → $2.69
Battle Effects Pack 2 plugin for RPG Maker MV $2.99 → $2.69
Boost Point System plugin for RPG Maker MV $2.99 → $2.69
Break Shield System plugin for RPG Maker MV $2.99 → $2.69
Horror Effects plugin for RPG Maker MV $4.99 → $4.49
Item Concoctions plugin for RPG Maker MV $2.99 → $2.69
OctoPack Battler Sample Project for RPG Maker MV $24.99 → $22.49
Order Turn Battle System plugin for RPG Maker MV $9.99 → $8.99
Proximity Compass plugin for RPG Maker MV $4.99 → $4.49
Side Battle Status UI plugin for RPG Maker MV $7.99 → $7.19
Social Media Buttons plugin for RPG Maker MV $2.99 → $2.69
Victory Sequence UI plugin for RPG Maker MV $4.99 → $4.49
Weakness Display plugin for RPG Maker MV $2.99 → $2.69
Weapon Swap System plugin for RPG Maker MV $2.99 → $2.69

Bundled

Animated Pictures plugin for RPG Maker MV $2.99 → $2.50
Battle Effects Pack 1 plugin for RPG Maker MV $2.99 → FREE
Battle Effects Pack 2 plugin for RPG Maker MV $2.99 → FREE
Boost Point System plugin for RPG Maker MV $2.99 → FREE
Break Shield System plugin for RPG Maker MV $2.99 → FREE
Horror Effects plugin for RPG Maker MV $4.99 → $4.50
Item Concoctions plugin for RPG Maker MV $2.99 → FREE
OctoPack Battler Sample Project for RPG Maker MV $24.99 → $21.00
Order Turn Battle System plugin for RPG Maker MV $9.99 → FREE
Proximity Compass plugin for RPG Maker MV $4.99 → $4.50
Side Battle Status UI plugin for RPG Maker MV $7.99 → FREE
Social Media Buttons plugin for RPG Maker MV $2.99 → $2.50
Victory Sequence UI plugin for RPG Maker MV $4.99 → FREE
Weakness Display plugin for RPG Maker MV $2.99 → FREE
Weapon Swap System plugin for RPG Maker MV $2.99 → FREE

Total: $34.99

Skip Cutscene plugin by Fallen Angel Olivia

$
0
0

Our talented plugin creator friend Fallen Angel Olivia has finished making the Skip Cutscene plugin for RPG Maker MV! With it, you can now skip cutscenes, Octopath-style!

This is a RPG Maker MV plugin that provides the functionality to skip ahead in a cutscene. This is a quality of life addition for players that may have played a certain scene already and would like to skip ahead. The player would hold the cancel button (X on the keyboard or Right Click on the mouse) if the ability to skip the cutscene is available. By holding it until the skip gauge is full, the scene skips forward to the next available section.

This is a paid plugin that will be sold for $9.99. Since the plugin just launched, it will be 20% off for a week at $7.99! Be sure to grab it!


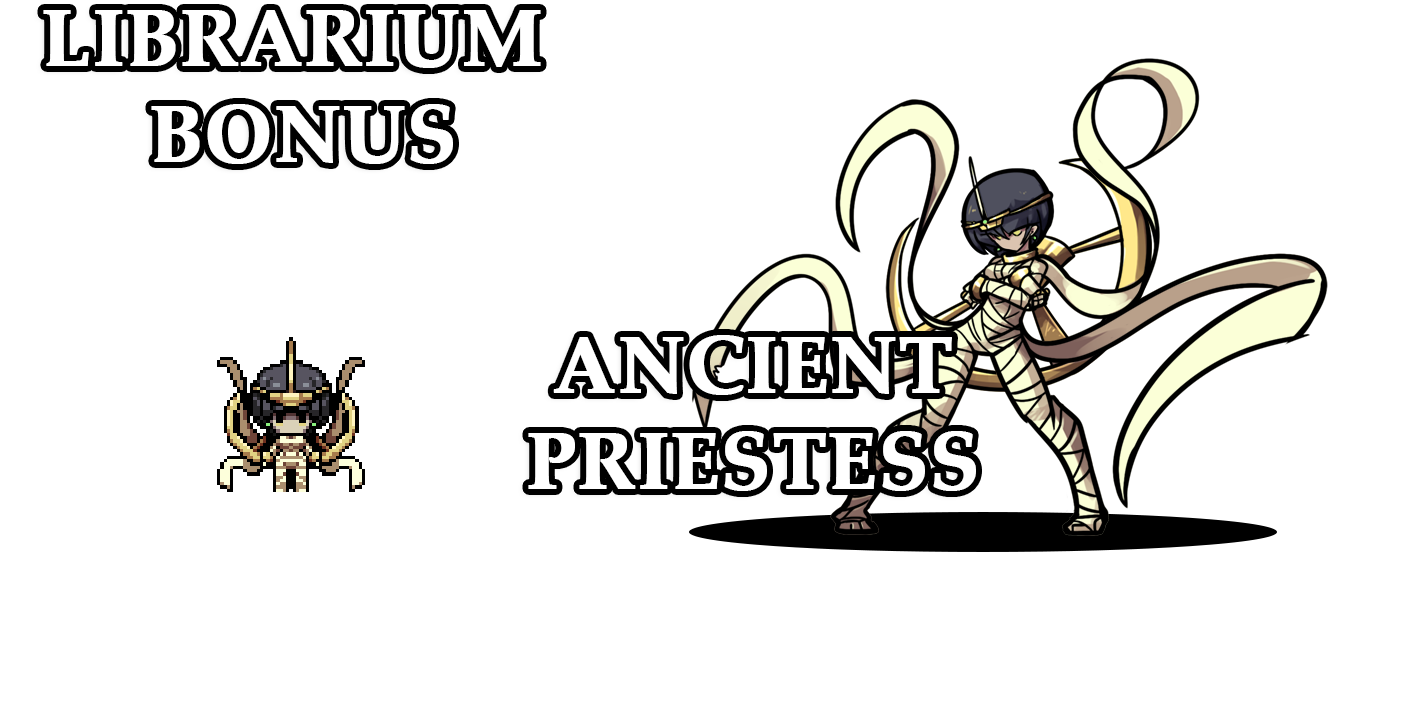
Librarium Bonus – Ancient Priestess

YEP.177 – Event Region Trigger – RPG Maker MV

$
0
0

Yanfly Engine Plugins is a plugin library made for RPG Maker MV, a wonderful piece of software to help you make that role playing game of your dreams. You can find out more about RPG Maker MV here.

You can grab the plugin here:
English Dropbox
English Mirror

Support Team Yanfly on Patreon

In RPG Maker MV, events can only trigger when you are either standing next to them or on top of them. This plugin lets you bind their activation to different events onto regions, making them trigger if the player is standing on the designated region first before talking to them through the Action Button, Player Touch, Event Touch, Autorun, and/or Parallels giving them multitudes of ways to trigger events. All of these can be done by simply adding Comment Tags into an event’s page.

This is different from Region Events, which causes a Common Event to autorun once the player has stepped onto one of those regions. This plugin binds actual map events to regions instead.


Introduction


In RPG Maker MV, events can only trigger when you are either standing next to them or on top of them. This plugin lets you bind their activation to different events onto regions, making them trigger if the player is standing on the designated region first before talking to them through the Action Button, Player Touch, Event Touch, Autorun, and/or Parallels giving them multitudes of ways to trigger events. All of these can be done by simply adding Comment Tags into an event’s page.

This is different from Region Events, which causes a Common Event to autorun once the player has stepped onto one of those regions. This plugin binds actual map events to regions instead.


Comment Tags


By default, event pages have no Region Triggers. They have to be added manually per event page using comment tags. You can use the following comment tags to give each event page a region trigger.

Comment Tags:

<Region Trigger: x>
<Region Triggers: x, x, x>
– Replace ‘x’ with the ID’s of the regions you wish to let the event trigger if the player is standing within a tile with that region ID and triggering the event page’s activation trigger requirements.

Event region triggers behave differently depending on the event page’s trigger type. Here is how the event page will activate based on the trigger:

Action Button
– As long as the player is within the matching region ID, pressing the OK button will activate the event.

Player Touch
– If the player moves within the matching region ID, the event will automatically activate. The player can also press the OK button to trigger the event.

Event Touch
– If the player moves within the matching region ID, the event will automatically activate. The player can also press the OK button to trigger the event.

Autorun
– If the player moves within the matching region ID, the event will automatically activate. There is no escaping this autorun unless you have a way of turning it off.

Parallel
– If the player moves within the matching region ID, the event will automatically activate. The player is granted a few frames of movement each time the parallel process loops.


Happy RPG Making!


Equipment Set Bonuses plugin for RPG Maker by Fallen Angel Olivia

$
0
0

Our talented plugin creator friend, Fallen Angel Olivia, releases another plugin: Equipment Set Bonuses!

This is a RPG Maker MV plugin that allows you to set equipment to be a part of various sets. When multiple pieces of the set are equipped, (for example: Fireproof Shield, Fireproof Hat, Fireproof Vest), then bonuses are applied. Bonuses can be applied at different stages, too, depending on how many set pieces are being currently equipped. The art (sprite, face, battler) for an actor can also change based on the number of equipment sets worn.

This is a paid plugin that will be sold for $15. Since the plugin just launched, it will be 20% off for a week. Be sure to grab it!

YEP.178 – Skill Mastery Levels – RPG Maker MV

$
0
0

Yanfly Engine Plugins is a plugin library made for RPG Maker MV, a wonderful piece of software to help you make that role playing game of your dreams. You can find out more about RPG Maker MV here.

You can grab the plugin here:
English Dropbox
English Mirror

Support Team Yanfly on Patreon

In some RPG’s, using skills over and over will result in some form of skill mastery, effectively increasing the damage output, decreasing the cost of said skills, and/or lowering the cooldown duration of the skills, too. This plugin lets you accomplish such by adding in a Skill Mastery Level mechanic.

The Skill Mastery Level mechanic works like such: when an actor or enemy uses a skill in battle, they gain mastery EXP. Once the mastery EXP reaches a certain threshhold, that skill’s mastery level will increase, giving it the desired mastery effects, of which can be increased damage, decreased skill costs, or decreased cooldown duration. Each of these aspects can be adjusted globally or individually from the formula used for the EXP required per level up to the damage increase, cost alteration, or cooldown durations.


Introduction


Note: If you are using YEP_SkillCore.js and/or YEP_X_SkillCooldowns.js, place this plugin under those in the plugin manager list. This plugin works independent of those plugins, but will work better with them if placed in this specific order.

In some RPG’s, using skills over and over will result in some form of skill mastery, effectively increasing the damage output, decreasing the cost of said skills, and/or lowering the cooldown duration of the skills, too. This plugin lets you accomplish such by adding in a Skill Mastery Level mechanic.

The Skill Mastery Level mechanic works like such: when an actor or enemy uses a skill in battle, they gain mastery EXP. Once the mastery EXP reaches a certain threshhold, that skill’s mastery level will increase, giving it the desired mastery effects, of which can be increased damage, decreased skill costs, or decreased cooldown duration. Each of these aspects can be adjusted globally or individually from the formula used for the EXP required per level up to the damage increase, cost alteration, or cooldown durations.


Notetags


To determine the effect the mastery level of a skill has or other various mastery-related properties, use the following notetags for those skills:

Skill Notetags:

<Max Mastery Level: x>
– Replace ‘x’ with the max mastery level you want a skill to have. If you don’t want the skill to have any mastery level at all, replace it with 0.

<Mastery Effect: +x Damage Per Level>
<Mastery Effect: +x HP Cost Per Level>
<Mastery Effect: +x MP Cost Per Level>
<Mastery Effect: +x TP Cost Per Level>
<Mastery Effect: +x Cooldown Per Level>
<Mastery Effect: -x Damage Per Level>
<Mastery Effect: -x HP Cost Per Level>
<Mastery Effect: -x MP Cost Per Level>
<Mastery Effect: -x TP Cost Per Level>
<Mastery Effect: -x Cooldown Per Level>
– This will increase or decrease the damage, HP cost, MP cost, TP cost, cooldown turns respectively for the skill depending on its mastery level. Replace ‘x’ with a flat number value of how much you want it to shift per the skill’s mastery level.
– Note: HP Cost requires YEP_SkillCore.js.
– Note: Cooldown requires YEP_X_SkillCooldowns.

<Mastery Effect: +x% Damage Per Level>
<Mastery Effect: +x% HP Cost Per Level>
<Mastery Effect: +x% MP Cost Per Level>
<Mastery Effect: +x% TP Cost Per Level>
<Mastery Effect: +x% Cooldown Per Level>
<Mastery Effect: -x% Damage Per Level>
<Mastery Effect: -x% HP Cost Per Level>
<Mastery Effect: -x% MP Cost Per Level>
<Mastery Effect: -x% TP Cost Per Level>
<Mastery Effect: -x% Cooldown Per Level>
– This will increase or decrease the damage, HP cost, MP cost, TP cost, cooldown turns respectively for the skill depending on its mastery level. Replace ‘x’ with a percentile number value of how much you want it to shift per the skill’s mastery level.
– Note: HP Cost requires YEP_SkillCore.js.
– Note: Cooldown requires YEP_X_SkillCooldowns.

<No Damage Mastery Effect>
<No HP Cost Mastery Effect>
<No MP Cost Mastery Effect>
<No TP Cost Mastery Effect>
<No Cooldown Mastery Effect>
– These notetags will disable their respective mastery effects from the default settings. They will just have their default value with nothing changed about them at all.
– Note: HP Cost requires YEP_SkillCore.js.
– Note: Cooldown requires YEP_X_SkillCooldowns.

<Custom EXP Mastery Formula: x>
– Makes a custom EXP mastery formula for the skill. Replace ‘x’ with the desired formula you wish to use for it.
– Example: <Custom EXP Mastery Formula: level * 20 + 5>

<Custom Damage Mastery Formula: x>
– Makes a custom damage mastery formula for the skill. Replace ‘x’ with the desired formula you wish to use for it.
– Example: <Custom Damage Mastery Formula: value(1.00 + (level * 0.20))>

<Custom HP Cost Mastery Formula: x>
– Makes a custom HP cost mastery formula for the skill. Replace ‘x’ with the desired formula you wish to use for it.
– Example: <Custom HP Cost Mastery Formula: cost(1.00 – (level * 0.05))>
– Note: HP Cost requires YEP_SkillCore.js.

<Custom MP Cost Mastery Formula: x>
– Makes a custom MP cost mastery formula for the skill. Replace ‘x’ with the desired formula you wish to use for it.
– Example: <Custom MP Cost Mastery Formula: cost(1.00 – (level * 0.05))>

<Custom TP Cost Mastery Formula: x>
– Makes a custom TP cost mastery formula for the skill. Replace ‘x’ with the desired formula you wish to use for it.
– Example: <Custom TP Cost Mastery Formula: cost(1.00 – (level * 0.05))>

<Custom Cooldown Mastery Formula: x>
– Makes a custom cooldown mastery formula for the skill. Replace ‘x’ with the desired formula you wish to use for it.
– Example: <Custom Cooldown Mastery Formula: turns – (level * 1.5)>

Actor and Enemy Notetags:

<Starting Skill Masteries>
list
list
list
</Starting Skill Masteries>
– If you want actors and/or enemies to have initial starting skill mastery levels, use the above notetag. This will only apply for actors when starting a new game or initializing them. Replace ‘list’ with one of the following setups:

Skill x: level
Skill x: level, exp
name: level
name: level, exp
– Replace ‘x’ with the ID of the skill you wish to alter the starting mastery level of. Alternatively, you can replace ‘Skill x’ with the skill ‘name’. If multiple skills have the same name in the database, this will apply to the first skill entry with that name.
– Replace ‘level’ with the level you wish to start it off as. This cannot go under 0 nor go above the maximum level of the skill.
– If used, replace ‘exp’ with the amount of EXP it will currently have at the start. This cannot be greater than or equal to the maximum value for the skill mastery level’s EXP. If not used, it will default to 0.

Example:

<Starting Skill Masteries>
Skill 5: 2
Skill 6: 3, 4
Firaga: 7
Firaja: 8, 10
</Starting Skill Masteries>
– In the above example, the actor/enemy will have Skill 5 and 6 starting at levels 2 and 3 respectively. However, Skill 6 will also have some skill EXP starting at 4. The actor/enemy’s ‘Firaga’ and ‘Firaja’ skills will start at levels 7 and 8 respectively while ‘Firaja’ will have 10 skill EXP at the very start.


Script Calls


For those with JavaScript experience, you can use the following script calls reference or alter skill mastery levels to your liking:

Script Calls:

battler.skillMasteryLevel(skillId)
– ‘battler’ is a variable that represents an actor/enemy. Replace ‘skillId’ with the ID of the skill whose mastery level you wish to acquire. This will return the mastery level of that skill.

battler.setSkillMasteryLevel(skillId, level)
– ‘battler’ is a variable that represents an actor/enemy. Replace ‘skillId’ with the ID of the skill whose mastery level you wish to alter. Replace ‘level’ with the level of the skill you wish to set it to. This will not allow the skill mastery level to go below 0 or above its max level and the number of uses will be set to 0 for that level.

battler.gainSkillMasteryLevel(skillId, value)
– ‘battler’ is a variable that represents an actor/enemy. Replace ‘skillId’ with the ID of the skill whose mastery level you wish to increase. Replace ‘value’ with the amount of levels to increase (or decrease) the skill’s current mastery level by.

battler.skillMasteryUses(skillId)
– ‘battler’ is a variable that represents an actor/enemy. Replace ‘skillId’ with the ID of the skill whose current mastery usage amount you wish to acquire the value of. This will return the current mastery usage amount of that skill.

battler.setSkillMasteryUses(skillId, value)
– ‘battler’ is a variable that represents an actor/enemy. Replace ‘skillId’ with the ID of the skill whose current mastery usage amount to be changed. Replace ‘value’ with the amount to set the amount to. If the usage amount exceeds the need to reach the next level, the skill automatically update to the next mastery level and set the mastery usage amount to 0.

battler.gainSkillMasteryUses(skillId, value)
– ‘battler’ is a variable that represents an actor/enemy. Replace ‘skillId’ with the ID of the skill whose current mastery usage amount to be changed. Replace ‘value’ with the amount to increase/decrease. If the usage amount exceeds the need to reach the next level, the skill automatically update to the next mastery level and set the mastery usage amount to 0.


Lunatic Mode – Requires YEP_SkillCore.js


There are no specific Skill Mastery Levels lunatic notetags, but this part of the help file will serve as a means to answer potential questions that people may have about how to add special effects based on a battler’s mastery level.

These examples require YEP_SkillCore.js as they use the Skill Core’s lunatic notetags to produce special effects.

YEP_SkillCore.js Skill Notetag Examples:

<After Eval>
if (user.skillMasteryLevel(item.id) >= 5) {
 target.addState(10);
 target.removeState(9);
}
<After Eval>

The above code will make a check to see if the user’s current mastery level of the skill is greater than or equal to 5. If it is, then state 10 in the database will also be applied to the target. However, state 9 will then be removed from the target.

<After Eval>
if (user.skillMasteryLevel(item.id) >= 2) {
 user.addBuff(3, 5);
 user.addDebuff(5, 8);
}
<After Eval>

The above code will make a check to see if the user’s current mastery level of the skill is greater than or equal to 2. If it is, then the user will gain a DEF buff for 5 turns. However, the user will then suffer a debuff for MDF for 8 turns.

For reference on what the parameter ID’s are:

0 = MaxHP
1 = MaxMP
2 = ATK
3 = DEF
4 = MAT
5 = MDF
6 = AGI
7 = LUK

<After Eval>
if (user.skillMasteryLevel(item.id) >= 3) {
 $gameTemp.reserveCommonEvent(5)
}
<After Eval>

The above code will make a check to see if the user’s current mastery level of the skill is greater than or equal to 3. If it is, common event 5 will be reserved and ran once applicable.

There are more possibilities with the way lunatic code can be used than just these examples listed here. For some ideas, be sure to check out the Tips & Tricks.
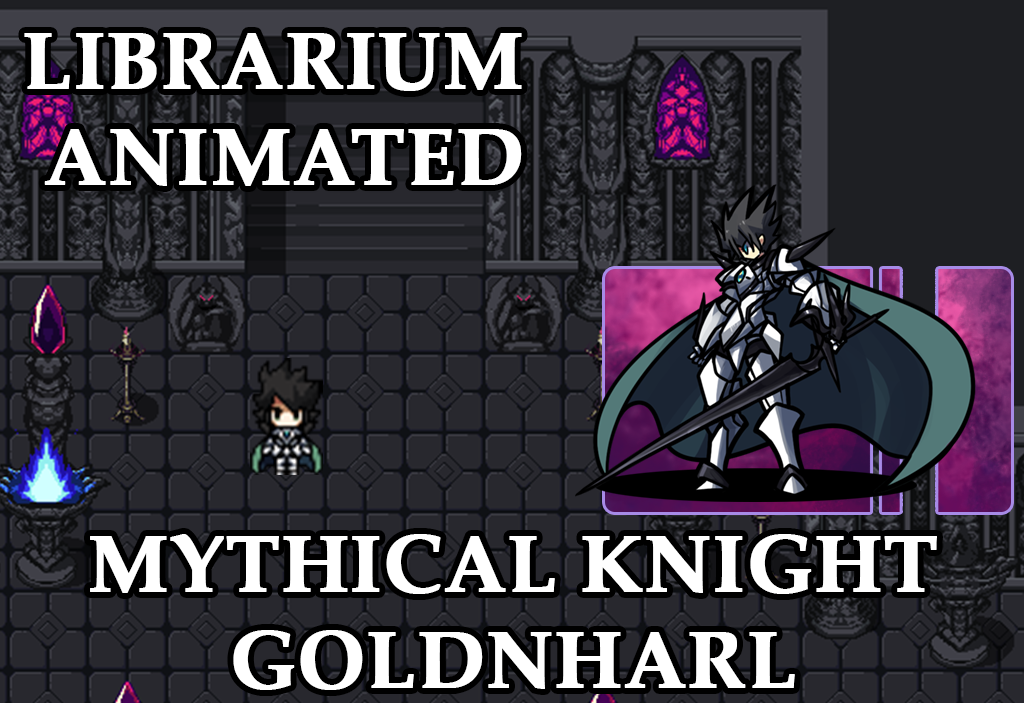
Librarium Animated – Mythical Knight Goldnharl

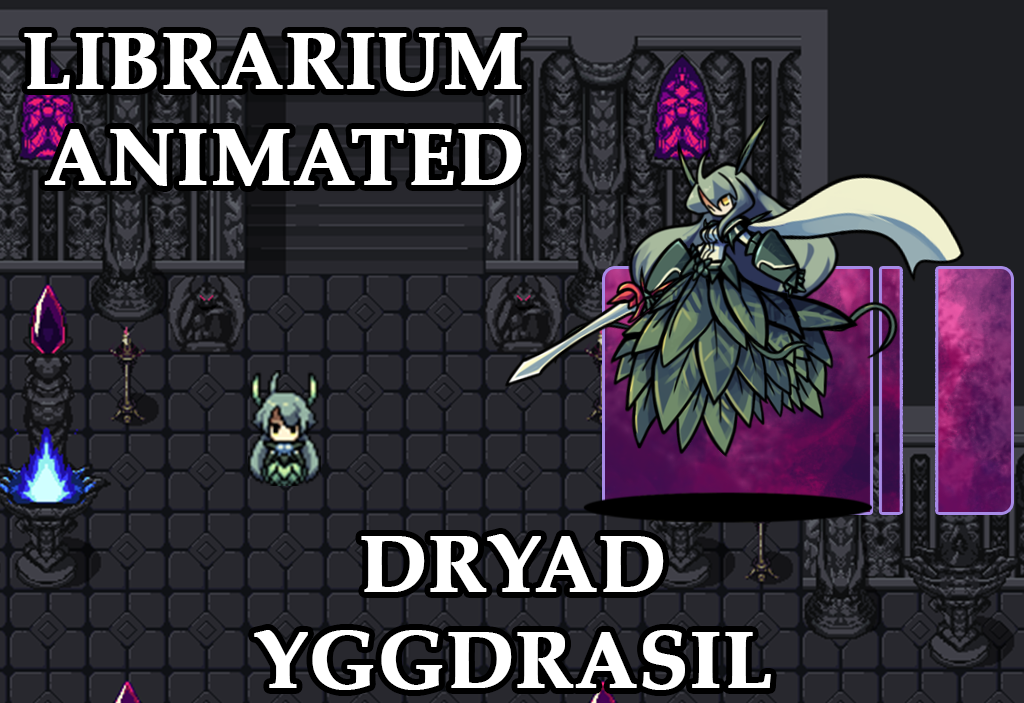
Librarium Animated – Dryad Yggdrasil

Fallen Angel Olivia’s Lunar New Year Plugin Sale

$
0
0

LunarNewYearSale

Our Octopath-loving friend, Fallen Angel Olivia, is hosting a Lunar New Year plugin sale! Everything is 10% off, or you can buy everything she’s made in a bundle for $49.99, regularly a $113.83 value (thus, saving 56%!). Be sure to check out her amazing plugins many of which are compatible with the Yanfly Engine Plugins library! This sale will be available throughout February!

Individually

Animated Pictures plugin for RPG Maker MV$2.99 → $2.69
Battle Effects Pack 1 plugin for RPG Maker MV$2.99 → $2.69
Battle Effects Pack 2 plugin for RPG Maker MV$2.99 → $2.69
Boost Point System plugin for RPG Maker MV$2.99 → $2.69
Break Shield System plugin for RPG Maker MV$2.99 → $2.69
Equipment Set Bonuses plugin for RPG Maker MV$14.99 → $13.49
Horror Effects plugin for RPG Maker MV$4.99 → $4.49
Item Concoctions plugin for RPG Maker MV$2.99 → $2.69
OctoPack Battler Sample Project for RPG Maker MV$24.99 → $22.49
Order Turn Battle System plugin for RPG Maker MV$9.99 → $8.99
Proximity Compass plugin for RPG Maker MV$4.99 → $4.49
Side Battle Status UI plugin for RPG Maker MV$7.99 → $7.19
Skip Cutscene plugin for RPG Maker MV$9.99 → $8.99
Social Media Buttons plugin for RPG Maker MV$2.99 → $2.69
Victory Sequence UI plugin for RPG Maker MV$5.99 → $5.39
Weakness Display plugin for RPG Maker MV$5.99 → $5.39
Weapon Swap System plugin for RPG Maker MV$2.99 → $2.69

Bundled

Animated Pictures plugin for RPG Maker MV$2.99 → $2.00
Battle Effects Pack 1 plugin for RPG Maker MV$2.99 → FREE
Battle Effects Pack 2 plugin for RPG Maker MV$2.99 → FREE
Boost Point System plugin for RPG Maker MV$2.99 → FREE
Break Shield System plugin for RPG Maker MV$2.99 → FREE
Equipment Set Bonuses plugin for RPG Maker MV$14.99 → $10.00
Horror Effects plugin for RPG Maker MV$4.99 → $4.00
Item Concoctions plugin for RPG Maker MV$2.99 → FREE
OctoPack Battler Sample Project for RPG Maker MV$24.99 → $20.00
Order Turn Battle System plugin for RPG Maker MV$9.99 → FREE
Proximity Compass plugin for RPG Maker MV$4.99 → $4.00
Side Battle Status UI plugin for RPG Maker MV$7.99 → FREE
Skip Cutscene plugin for RPG Maker MV$9.99 → $8.00
Social Media Buttons plugin for RPG Maker MV$2.99 → $2.00
Victory Sequence UI plugin for RPG Maker MV$5.99 → FREE
Weakness Display plugin for RPG Maker MV$5.99 → FREE
Weapon Swap System plugin for RPG Maker MV$2.99 → FREE

Total: $49.99


YEP.179 – Plugin Commands – Switches & Variables Access – RPG Maker MV

$
0
0

Yanfly Engine Plugins is a plugin library made for RPG Maker MV, a wonderful piece of software to help you make that role playing game of your dreams. You can find out more about RPG Maker MV here.

You can grab the plugin here:
English Dropbox
English Mirror

Support Team Yanfly on Patreon

Plugin Commands are one of the more useful additions to RPG Maker MV from its previous iterations. They offer the ability to launch custom plugin functions without the structural complexity of script calls. However, the Plugin Commands themselves aren’t too flexible as the values inserted into the command strings tend to be fixed. This plugin allows you to use variables and switches to make the Plugin Commands values more flexible.


Introduction


Plugin Commands are one of the more useful additions to RPG Maker MV from its previous iterations. They offer the ability to launch custom plugin functions without the structural complexity of script calls. However, the Plugin Commands themselves aren’t too flexible as the values inserted into the command strings tend to be fixed. This plugin allows you to use variables and switches to make the Plugin Commands values more flexible.


Instructions


When you make a Plugin Command event that you’d like for data to become more dynamic and/or flexible, use the following Plugin Command replacement codes to produce new effects:

Variables:

v[x]
– Replaces v[x] with the value of variable x.

Examples:

Quest Add v[8]
– YEP_QuestJournal’s Quest Add x Plugin Command will now use variable 8 to determine which quest to add.

gainJp v[11] v[12]
– YEP_JobPoints’s gainJp actorId jp Plugin Command will use variable 11 to determine the actorId to give variable 12’s value as JP to add to.

Switches:

{s[x] ? OnText : OffText}
– Replaces everything inside the { } brackets depending on Switch x. If Switch x is ON, then it will be replaced with the ‘OnText’ string. If Switch x is OFF, then it will be replaced with the ‘OffText’ string.

Examples:

EventTimer {s[1] ? Pause : Resume}
– YEP_EventTimerControl’s EventTimer Plugin Command will now Pause if Switch 1 is ON or Resume if Switch 1 is OFF.

ForceAdvantage {s[2] ? Preemptive : Surprise}
– YEP_ForceAdvantage’s ForceAdvantage Plugin Command will give the player a preemptive strike if Switch 2 is ON or give the enemy a surprise attack advantage if Switch 2 is OFF.

Combined:

You can combine both the variable and switches together for more complex Plugin Commands using both types.

Examples:

ShowIconBalloon v[15] on {s[5] ? Player : Event v[16]}
– YEP_IconBalloons’s ShowIconBalloon x on y Plugin Command will now show an icon based on Variable 15 on the Player if Switch 5 is ON. If Switch 5 is OFF, then it will show the icon on an event determined by Variable 16.

Quest v[20] {s[10] ? Show : Hide} Reward v[21]
– YEP_QuestJournal’s Quest x Show/Hide Reward y Plugin Command will have a quest affected by Variable 20 change its reward settings to Show or Hide based on Switch 10. The reward ID changed is based on Variable 21.


Happy RPG Making!


Fallen Angel Olivia’s State Tooltip Display plugin!

$
0
0

StateTooltipsTitle

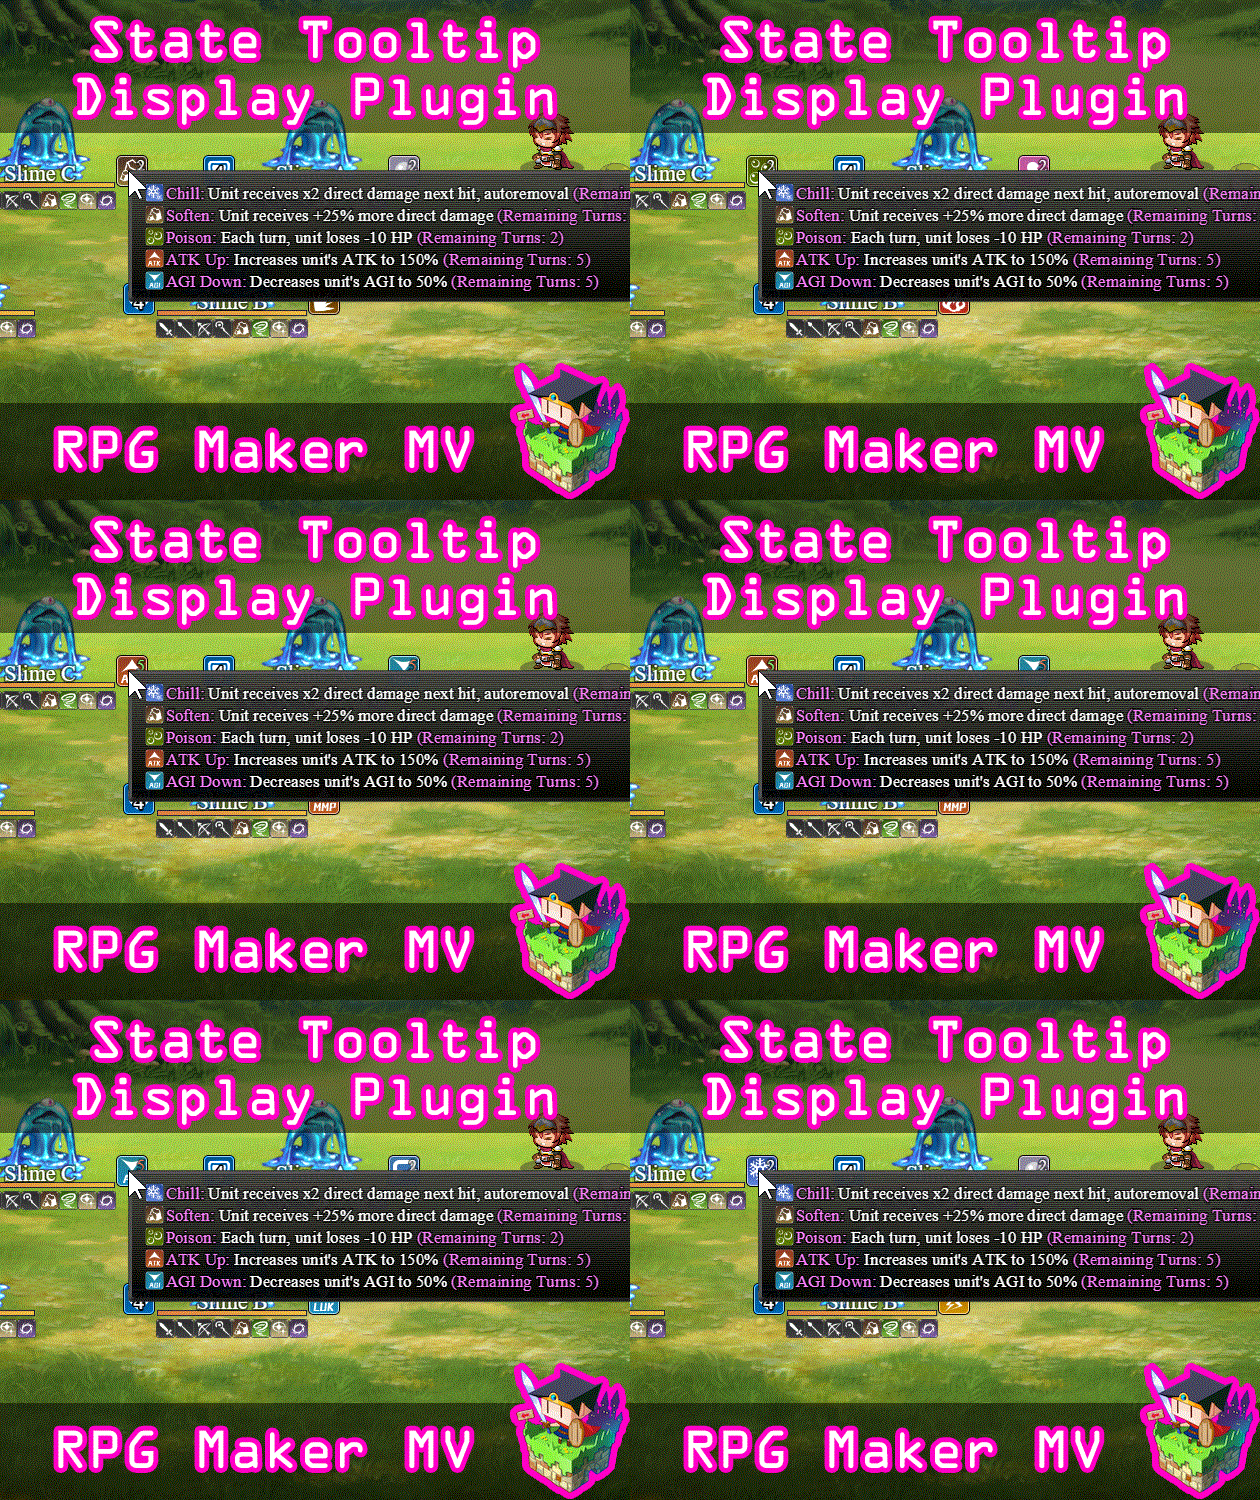
Our friend, Fallen Angel Olivia releases a new plugin, the State Tooltip Display! Games nowadays often show tooltips for status effects and whatnot. Now, your players don’t have to be in the dark about what your status effects do, especially since you might be the type of person who’d have hundreds of them in your game (you guys know who you are).

This is a RPG Maker MV plugin that adds a tooltip window in battle (and other scenes) dedicated to showing information regarding states. If the player hovers the mouse over the state icons, the window will appear and display descriptions about each of the states affecting the battler.

This is a paid plugin with a launch sale lasting a week! You can grab it for $7.99 while it’s on sale!

YEP.180 – Autosave – RPG Maker MV

$
0
0

Yanfly Engine Plugins is a plugin library made for RPG Maker MV, a wonderful piece of software to help you make that role playing game of your dreams. You can find out more about RPG Maker MV here.

You can grab the plugin here:
English Dropbox
English Mirror

Support Team Yanfly on Patreon

Autosave is a common feature found in standard RPG’s nowadays. Games would save at certain triggers or upon changing maps so that the player won’t lose any progress in case they forget to manually save. This plugin adds in an Autosave function to your game(s) and lets you control when to Autosave or set it to do it automatically under certain conditions.


Introduction


This plugin requires YEP_SaveCore. Make sure this plugin is located under YEP_SaveCore in the plugin list.

Autosave is a common feature found in standard RPG’s nowadays. Games would save at certain triggers or upon changing maps so that the player won’t lose any progress in case they forget to manually save. This plugin adds in an Autosave function to your game(s) and lets you control when to Autosave or set it to do it automatically under certain conditions.


Instructions


There are three ways to go about Autosave with this plugin. Please read them carefully and decide which one(s) is best suited for your game.

Manual:
– By default, Autosave does not happen automatically with this plugin. You, as the game dev, need to insert the Plugin Command: Autosave at the various points you want the Autosave to occur. This one gives you the most control over your game.

Autosave on Map Load:
– This is a Plugin Parameter. When it is set to true, the game will Autosave each time the map scene is loaded. This means entering a new map, coming out of a menu, or finishing a battle. All three of those conditions causes the Autosave function to activate.

Autosave on Main Menu:
– This is a Plugin Parameter. When it is set to true, the game will Autosave each time the player enters the Main Menu from the map scene. Autosave will NOT occur any other way regarding the Main Menu, meaning that coming out of the Item scene to the Main Menu will not activate Autosave.

Autosaving will not occur if the player disables Autosave. If you don’t want to give the player the ability to disable Autosave, you can set the Plugin Parameter “Show Option” to false.

You can use all three methods of Autosaving together. You can have it done manually, Autosave on loading a map, and Autosave on calling the Main Menu to get the most coverage.

*NOTE: Although you can use all three methods together, be mindful of your players. Sometimes, saving a game could induce a bit of lag depending on how big the save files are. Autosaving is no different. This is something that cannot be fixed by plugins.

*NOTE: Autosaving will not occur until the player saved manually at least once in-game. After that, Autosave will take the slot that was used to save and continue saving to it or whichever save slot the player moved to later.


Plugin Commands


Autosave is manually done by the game developer using plugin commands. There are also other plugin commands that can control autosaving, too.

Plugin Commands:

Autosave
– This will make the game automatically save in the last saved file slot used by the player. If the player has started a new game and did not save into a slot yet, nothing will happen. If autosave is disabled by the player through the Options menu or disabled by the system with a plugin command, nothing will happen either.

EnableAutosave
DisableAutosave
– This will forcibly enable or disable autosaving done by the game. This will not bypass the player’s option to disable Autosave if trying to enable it. The player’s decision to disable Autosaving will take priority over the game dev’s. If you wish to take this option away from the player, please change it in the plugin parameters.


Options Core Settings – Adding the New Option


If you are using YEP_OptionsCore.js, you can add a new Option using this plugin. Here’s the following code/parameter settings you can use with it.

———
Settings:
———

Name:
\i[231]Autosave
Help Description:
Enables \c[4]Autosaving\c[0] for your game if ON. 
You can still manually save your game.
Symbol:
autosave
Show/Hide:
show = Imported.AutosaveShowOpt;
Enable:
enabled = true;
Ext:
ext = 0;

———-
Functions:
———-

Make Option Code:
this.addCommand(name, symbol, enabled, ext);
Draw Option Code:
var rect = this.itemRectForText(index);
var statusWidth = this.statusWidth();
var titleWidth = rect.width - statusWidth;
this.resetTextColor();
this.changePaintOpacity(this.isCommandEnabled(index));
this.drawOptionsName(index);
this.drawOptionsOnOff(index);
Process OK Code:
var index = this.index();
var symbol = this.commandSymbol(index);
var value = this.getConfigValue(symbol);
this.changeValue(symbol, !value);
Cursor Right Code:
var index = this.index();
var symbol = this.commandSymbol(index);
var value = this.getConfigValue(symbol);
this.changeValue(symbol, true);
Cursor Left Code:
var index = this.index();
var symbol = this.commandSymbol(index);
var value = this.getConfigValue(symbol);
this.changeValue(symbol, false);
Default Config Code:
// Empty. Provided by this plugin.
Save Config Code:
// Empty. Provided by this plugin.
Load Config Code:
// Empty. Provided by this plugin.

Happy RPG Making!


A new plugin maker has arrived!

$
0
0

A new plugin maker has arrived by the name of Irina! 😀 Here’s some of the stuff she’s made for free!

AutoMessageColors

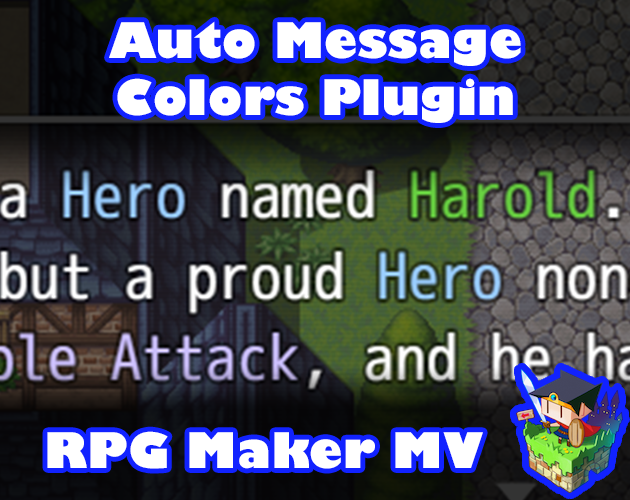
Auto Message Colors

This plugin automatically causes the messages that can use text codes to automatically color keywords to depict importance so you don’t have to manually type in \c[3]Important\c[0] every time you want to draw attention to something. This helps those who want to make their keywords consistent throughout their game as well as makes it easier to simply offload text into RPG Maker MV without having to go through and highlight everything manually.

PerformanceUpgrade

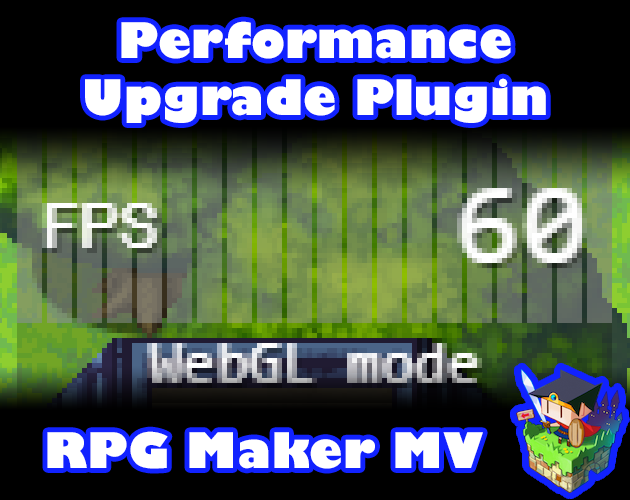
Performance Upgrade

This is a “plugin” of mostly performance upgrades shifts away from the usage of bitmap functions to WebGL and PIXI for better performance. Results may vary from computer to computer as PIXI alternatives depend highly on the PC’s GPU. For those that this does affect, expect less lag spikes from many things like hue changes for enemies and animations, entering the main menu, or constant pixel grabs from the window skin.

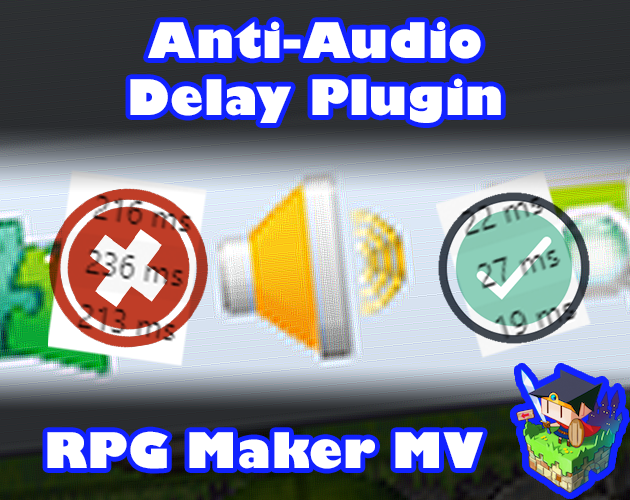
AntiAudioDelay

Anti-Audio Delay

When playing audio in RPG Maker MV events, there’s a small delay when the audio loads to when it’s actually played. This can make some scenes lose impact where an emotional piece of music is supposed to be played, but it gets delayed instead and ruins the moment.

What this plugin does is go through the currently running event’s command list by a certain amount and loads ahead of time the audio files it finds. This way, the audio files are ready by the time the event runs, making it transition smoothly.

This plugin does not preload and store audio files forever because that’s a very quick way to get your game client to crash when it consumes more memory than the player’s computer can handle. Instead, it will save a designated amount of audio files in its cache to keep them ready in case they’re reused but will flush them out of memory when the limit has been reached. This is to ensure that memory doesn’t overflow and crash the game.

Be sure to grab her stuff and follow her on itch.io!

Atelier Irina – Visual Novel Busts – RPG Maker MV

$
0
0

Made by our visual novel loving friend, Atelier Irina for RPG Maker MV!

You can buy it here

It’ll be on sale for the first week!

This plugin adds bust support to RPG Maker MV’s message system. You can control all bust functions from either the Show Text event command itself or through Script Calls. This plugin supports one bust on the Message Window and ten other busts on the screen behind it.

Busts can move, fade in and out, change opacity, slide in and out, mirror themselves, change scale, and have tones applied to them. While some of these options can be done through Show Picture event commands, having too many pictures on the screen can cause performance dips. By making busts separate sprites from pictures, there are less issues, too.

Viewing all 184 articles
Browse latest View live